Remix Authentication

We are very excited to officially release the @propelauth/remix library - a library that makes it incredibly easy to add authentication, authorization, and multi-tenancy to your Remix apps. If you want to jump straight to the docs, you can do so here.
Choosing a JS Framework
When it comes to picking a Javascript framework for a project, sometimes it feels like we are spoiled for choice.
You can use vanilla React with Vite on the client and choose anything you want for your backend. You can use Next.js with either the pages or app router, using it either on just the client or both the client and server. You can use Astro, Svelte, Solid, Vue, HTMLX, … the list goes on. And with any choice you make, there are tradeoffs, since not every framework is going to be suited for every task.
All that being said, Remix is quickly becoming our favorite framework, especially for projects like creating a user-facing dashboard where Remix really shines.
What is Remix?
I scrolled through Remix’s marketing site looking for a short quote, but I didn’t find anything that really encapsulates why I like Remix so much.
It does do a good job of listing some of the main features: nested routes, parallel data loading, progressive enhancement via good hooks/APIs, clean error boundaries, etc.
To me though, Remix is great because it is a straightforward, full-stack framework. It provides clean, but powerful abstractions on top of your most common tasks. In fact, it’s actually the code snippet on the main marketing site that I think is the strongest sell:
export async function loader({ request }) {
  return getProjects();
}

export async function action({ request }) {
  const form = await request.formData();
  return createProject({ title: form.get("title") });
}

export default function Projects() {
  const projects = useLoaderData();
  const { state } = useNavigation();
  const busy = state === "submitting";

  return (
    <div>
      {projects.map((project) => (
        <Link to={project.slug}>{project.title}</Link>
      ))}

      <Form method="post">
        <input name="title" />
        <button type="submit" disabled={busy}>
          {busy ? "Creating..." : "Create New Project"}
        </button>
      </Form>
    </div>
  );
}
The loader runs on the server and (surprise) loads the data.
The Projects component is just a standard React component that runs in the browser.
Importantly, the useLoaderData hook is type-safe across that API boundary. As you edit the return type of the loader, the projects type in the component will be updated.
Also notably, you don’t need to manage the form variables. When the form submits, you just get the body of the request in the action, which is also managed on the server.
There’s a lot more to love about Remix, but these clear, straightforward abstractions were the first thing that drew me to it. If you are looking for a deeper dive on Remix itself, check out their tutorial.
Adding authentication to Remix
Building on those same principles, since the loader and action happen on the server, we can do simple authentication/authorization checks. The @propelauth/remix library provides both getUserOrRedirect (which gets the current user if they are logged in, or redirects them to the login page if not) and getUser (which gets the current user or undefined if they aren’t logged in).
An authenticated page can be as simple as:
import { json, type LoaderFunctionArgs } from "@remix-run/node";
import { useLoaderData } from "@remix-run/react";
import { auth } from "~/auth/auth.server";

export const loader = async ({ request, context }: LoaderFunctionArgs) => {
  const user = await auth.getUserOrRedirect(request, context);
  return json({ email: user.email });
};

export default function WelcomeMessage() {
  const { email } = useLoaderData<typeof loader>();
  return <div>Welcome, {email}!</div>
}
Multi-Tenant/B2B Use Cases
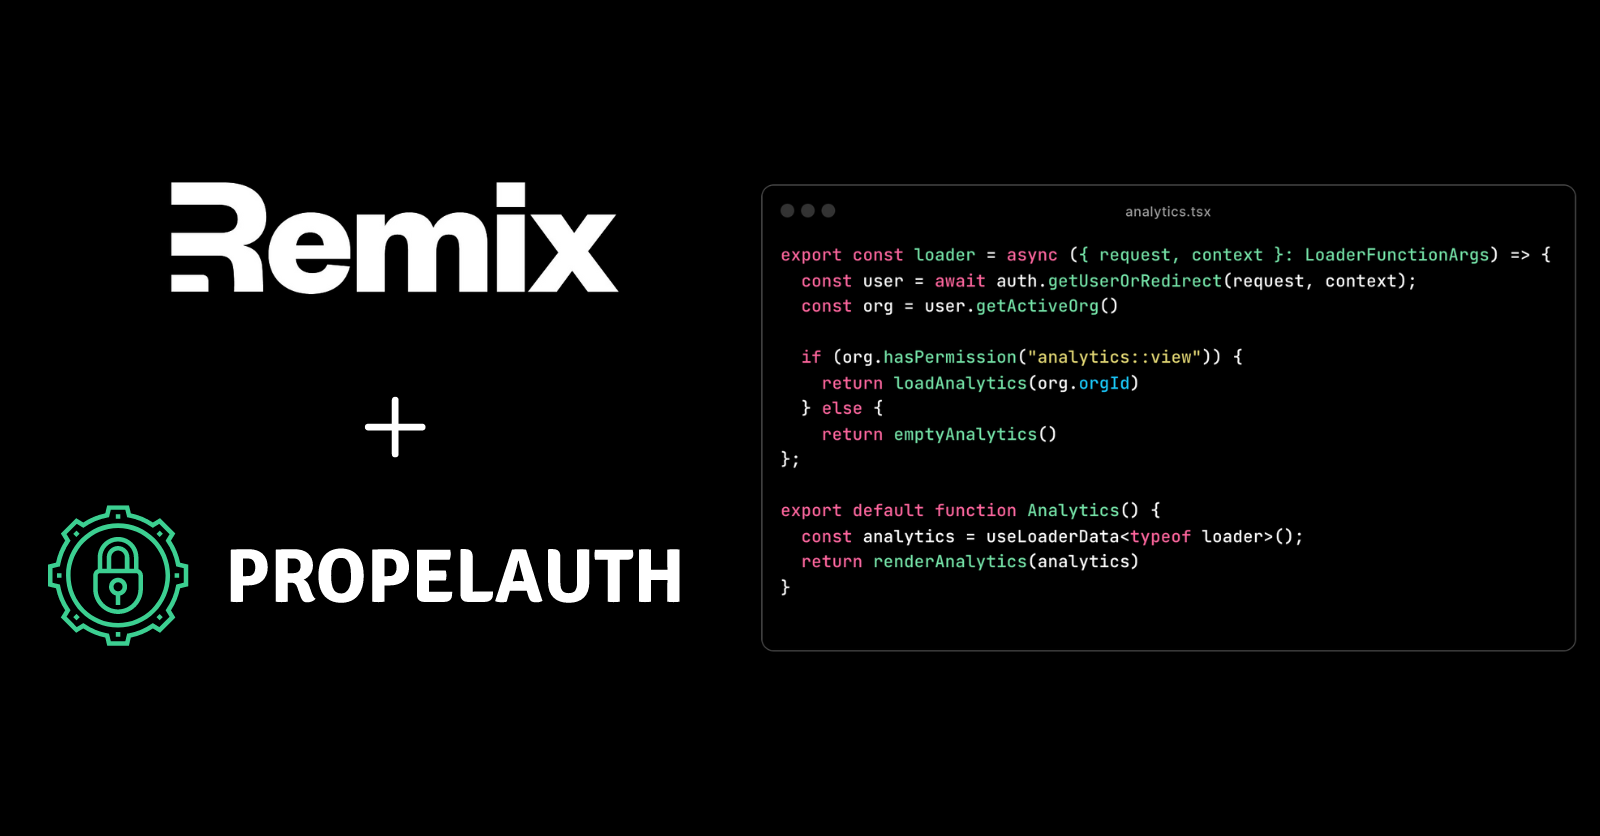
Since PropelAuth specializes in B2B/multi-tenant use cases, you can also check the user’s role/permissions within an organization:
export const loader = async ({ request, context }: LoaderFunctionArgs) => {
  const user = await auth.getUserOrRedirect(request, context);
  const org = user.getActiveOrg()

  // can also check org.isRole(...)
  if (org.hasPermission("analytics::view")) {
    return loadAnalytics(org.orgId)
  } else {
    return emptyAnalytics()
};
Getting started
If you already know about Remix and are looking to add authentication, our documentation is here. Otherwise, you can check out their tutorial to learn more.
If you have any questions or feedback, please reach out at support@propelauth.com!