Chrome Extension Authentication with Plasmo

Chrome extensions can be an incredibly powerful medium for a product. With over two billion active Chrome browsers in the world, an extension can help a brand reach a large audience with ease. They can provide additional functionality, improve user experience, and streamline tasks. The only problem, however, is they are a pain to build.
Plasmo is a platform that makes building Chrome extensions significantly easier by eliminating boilerplate and providing powerful abstractions. In this post, we’ll use the Plasmo Framework to create a basic extension and PropelAuth to add user authentication. Let’s get started!
Setting up our extension
To get started, we’ll bootstrap with Plasmo’s CLI:
yarn create plasmo "Extension"
cd into the directory and run
yarn dev
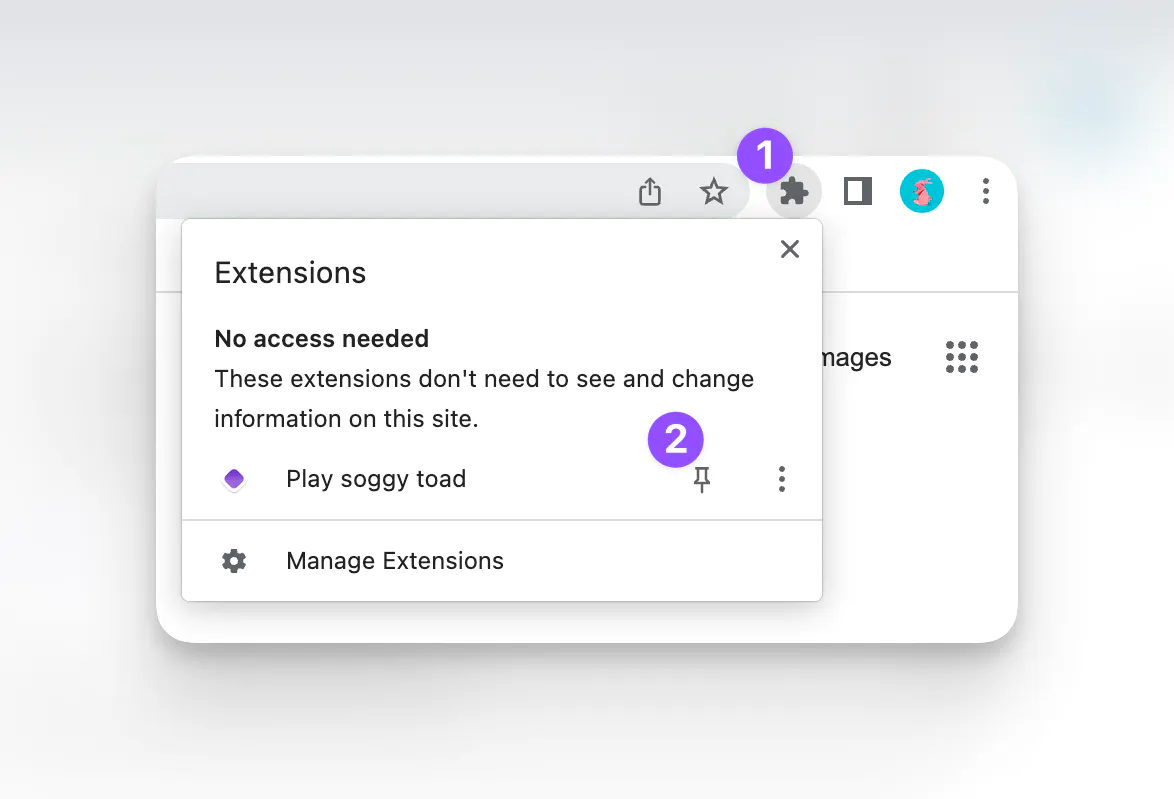
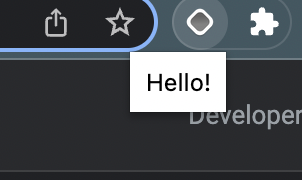
Finally, follow the instructions to load the extension into Chrome and pin it so it’s easier to find:
Popup pages
By default, Plasmo sets you up with a file popup.tsx, let’s see what happens when we modify it:
export default function IndexPopup() {
    return <div>Hello!</div>
}
Because it’s React-based, we also have all our usual hooks available. Let’s copy in React’s counter example:
export default function IndexPopup() {
    // Declare a new state variable, which we'll call "count"
    const [count, setCount] = useState(0);

    return (
        <div style={{minWidth: "150px", textAlign: "center"}}>
            <p>You clicked {count} times</p>
            <button onClick={() => setCount(count + 1)}>
                Click me
            </button>
        </div>
    );
}

This popup is just one type of page that you can create. Plasmo also allows you to create options pages, new tab pages, content scripts, and more. Check out the docs for a full list of features. Next, let’s see how we can add authentication to this extension.
Adding authentication to our Chrome Extension
Let’s make it so that our users can log in and access an account page. We’re going to use PropelAuth, which is an authentication provider designed specifically to get products live quickly.
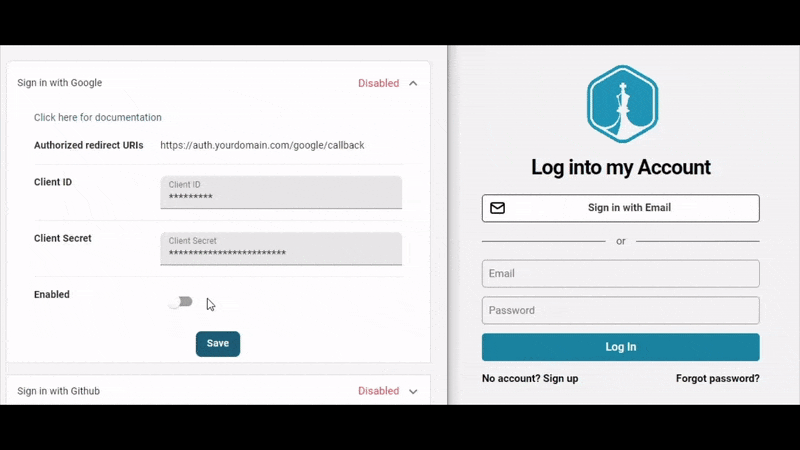
As part of getting users live quickly, PropelAuth provides out of the box signup, login and profiles pages so we don’t have to worry about building them ourselves. If you follow the getting started guide, you can see how to customize those pages and add options for SSO (like ”Login with Google”).
Since the UIs are all managed for us, all we have to do is install @propelauth/react and then we can check if the user is logged in, get their information, redirect them to an account page, etc.
yarn add @propelauth/react
Let’s update our popup.tsx to include signup/login buttons when the user isn’t logged in, and logout/account buttons when they are:
import React from "react"
import {AuthProvider, useLogoutFunction, withAuthInfo, useHostedPageUrls} from "@propelauth/react";
export default function IndexPopup() {
return (
<AuthProvider authUrl={process.env.PLASMO_PUBLIC_AUTH_URL}>
<Popup/>
</AuthProvider>
)
}
const Popup = withAuthInfo(function IndexPopup({isLoggedIn, user}) {
const logoutFn = useLogoutFunction()
const {getLoginPageUrl, getSignupPageUrl, getAccountPageUrl} = useHostedPageUrls()
// These pages are all hosted by PropelAuth on our domain
const openAccountPage = () => window.open(getAccountPageUrl())
const openSignupPage = () => window.open(getSignupPageUrl())
const openLoginPage = () => window.open(getLoginPageUrl())
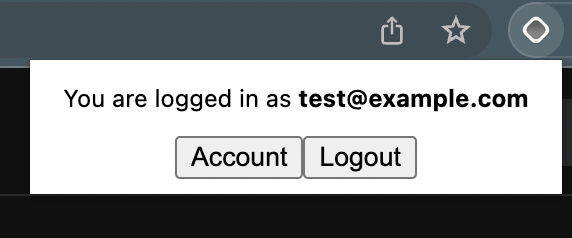
if (isLoggedIn) {
return <div style={{minWidth: "250px", textAlign: "center"}}>
<p>You are logged in as <b>{user.email}</b></p>
<button onClick={openAccountPage}>Account</button>
<button onClick={() => logoutFn(false)}>Logout</button>
</div>
} else {
return <div style={{minWidth: "250px", textAlign: "center"}}>
<button onClick={openSignupPage}>Signup</button>
<button onClick={openLoginPage}>Login</button>
</div>
}
});
The AuthProvider is responsible for fetching the user’s authentication status. withAuthInfo is responsible for injecting useful props like isLoggedIn and user. If you are building a B2B application, you’ll also find orgHelper and accessHelper useful.
And for a very basic integration, that’s it. Your users can log in, update their account information, send password reset emails, setup 2FA, etc.
However, you’ll probably want to send authenticated requests to your backend, so let’s see how we can do that with Plasmo’s Messaging API.
What’s hard about making requests from a Chrome extension?
Ideally, we want to just call fetch('/my-backend') or even fetch('https://api.mybackend.com/something') and have everything just work. There are a few gotchas here, like CORS and CSPs.
We’ve written about CORS before, but the gist is that CORS is a protocol that decides whether a cross-origin request (e.g. a request from https://somedomain.com to https://otherdomain.com) should be allowed. Chrome extensions are unique in that there are a few different places a fetch request can come from, and only some are subject to CORS.
To add to this, if you inject javascript into the user’s page and make fetches, you will also be subject to the pages CSP (Content Security Policy) which could block the request.
How do we safely make requests from a Chrome Extension?
There are three places that fetches can come from:
- The extension itself (popup windows, options pages, etc) - This will work out of the box
- A background service worker - These are subject to CORS, and the requests will come from a URL like chrome-extension://somereallylongid
- Javascript that you inject into the user’s page. In Plasmo, this is called a Content Script. These are subject to CORS, and the requests will come from the page itself. These are also subject to the CSP.
The first two are pretty straightforward. The third one, however, presents a unique challenge. Luckily, Plasmo provides a Messaging API which makes it easy to send messages between the parts of your extension. This allows you to write code like this:
import { sendToBackground } from "@plasmohq/messaging"

// Pass a message from a Content Script, over to a
//   background service worker
async function sendInfoToBackgroundWorker(id: string) {
    return await sendToBackground({
        name: "ping",
        body: { id }
    })
}
We can then write a handler background/messages/ping.ts to process it:
import type { PlasmoMessaging } from "@plasmohq/messaging"

const handler: PlasmoMessaging.MessageHandler = async (req, res) => {
  const message = await querySomeApi(req.body.id)

  res.send({ message })
}

export default handler
To make an authenticated request, we’ll need to get an access token for our user. Since these scripts are written in Javascript/Typescript, we cannot use @propelauth/react but we can use @propelauth/javascript:
yarn add @propelauth/javascript
And update our handler:
const client = createClient({
    authUrl: process.env.PLASMO_PUBLIC_AUTH_URL,
    enableBackgroundTokenRefresh: true
})

const handler: PlasmoMessaging.MessageHandler = async (req, res) => {
    const authInfo = await client.getAuthenticationInfoOrNull();
    const message = await querySomeApi(req.body.id, authInfo.accessToken)

    res.send({
        authInfo
    })
}
You’ll need to pass the access token in to the Authorization header like:
function querySomeApi(id, accessToken) {
  return fetch(`/item/${id}`, {
    method: "GET",
    headers: {
      Authorization: `Bearer ${accessToken}`,
    },
  });
}
Then, you can use one of PropelAuth’s backend libraries to verify the access token on the backend.
Summary
If you’ve ever tried to build an advanced Chrome Extension from scratch, you know how painful it is. Plasmo makes it possible to create powerful extensions with ease. By using the Plasmo Framework and adding PropelAuth for user authentication, you can streamline the development process and start iterating with your first customers today.