FastAPI Authentication Guide

FastAPI is a modern web framework for building out APIs using Python. It’s fast, lightweight, and quick to build with, so it’s no wonder that many developers and companies use FastAPI for building out their products.
Naturally, these applications and products might reach a point where the security and authentication of users are a concern for the developers. Luckily, there’s a simple solution that only requires a few extra lines of code to seamlessly add authentication to your preexisting codebase, without needing to know the ins and outs of complicated authentication frameworks.
For this guide, we’ll assume you already have a backend built using FastAPI, and with just a few additions to your endpoints there we can add authentication.
Authentication in FastAPI with PropelAuth
Adding just a few lines of code is a bold claim to make, but we really mean just that. Using dependency injection and the PropelAuth FastAPI Library, all you have to do is add user = Depends(auth.require_user) as an argument, and your route is protected.
Let’s say, as an example, you have an endpoint that you want to protect, /perform_sensitive_operation.
@app.get("/perform_sensitive_operation")
def perform_sensitive_operation():
  return operation()
To protect this route, you use the require_user method that PropelAuth provides on the auth object. It’s a FastAPI dependency that validates that the request was made by a valid user. Otherwise, the request is rejected with a 401 Unauthorized error.
@app.get("/perform_sensitive_operation")
def perform_sensitive_operation(user: User = Depends(auth.require_user)):
  return operation(user.user_id)
And that’s it! We allow your users to manage their own information with our hosted signup, login, and account pages, and all you need to do is use the injected user.
Project Setup
First, we’ll create a PropelAuth project. Once a project has been created, you will be directed to the dashboard for your project, outlining the steps to complete adding authentication into your application. This includes styling the UI, choosing authentication methods, and enabling organizations/enterprise SSO.
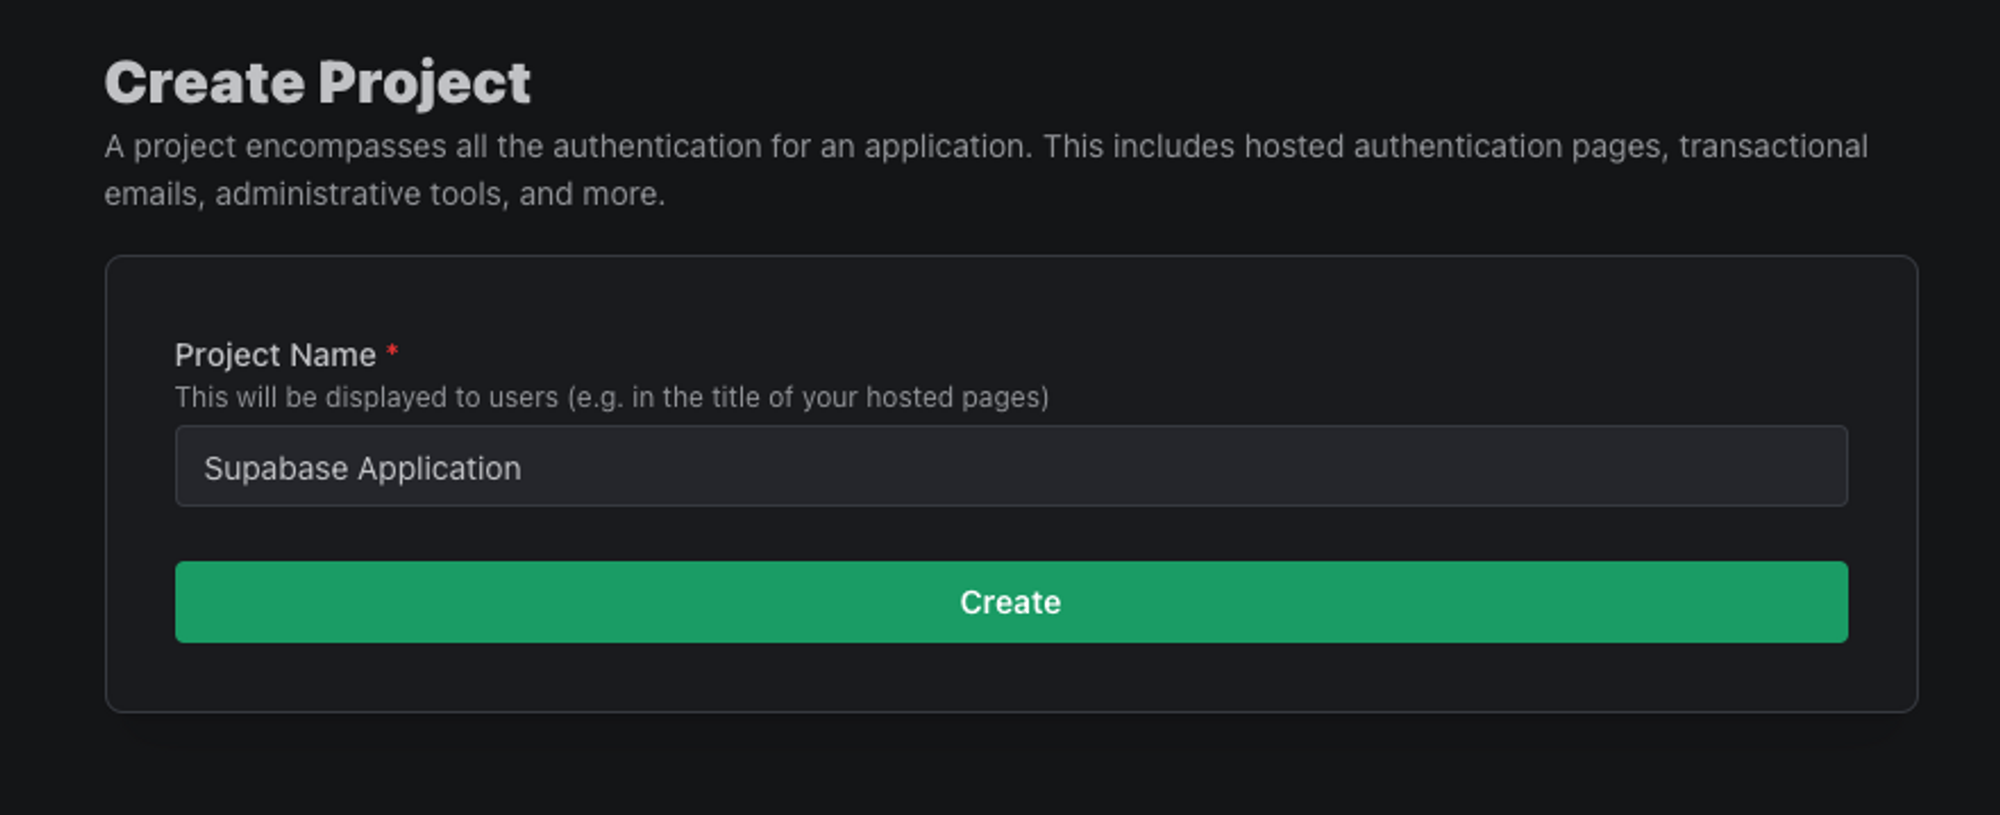
Creating an authentication project
One of the onboarding steps is to sign up as a test user, which we’ll use later on to test our application. Before moving on to the FastAPI setup, be sure to note the Backend Integration section on the sidebar since we’ll be using values from that page in the next few steps.
FastAPI Project Setup
To get us started, let's install a few packages to help us. We’ll use propelauth-fastapi to validate access tokens coming into our FastAPI backend. We also need python-dotenv to read environment variables.
$ pip install propelauth-fastapi python-dotenv
Next, you’ll want to create a .env file, with the following variables.
PROPELAUTH_AUTH_URL="YOUR_URL_HERE"
PROPELAUTH_API_KEY="YOUR_KEY_HERE"
PROPELAUTH_AUTH_URL and PROPELAUTH_API_KEY can both be found by clicking on Backend Integration on the sidebar of your PropelAuth project. These are used once on startup to fetch the information needed to validate tokens. Access tokens (which are JWTs) are then validated quickly without needing to make any external requests.
Next, add the following imports to the top of your FastAPI file.
from fastapi import Depends, FastAPI
from propelauth_fastapi import init_auth
from propelauth_py.user import User
A few things of note:
Dependsis the FastAPI method of dependency injectioninit_authperforms a one-time initialization of the library. It will verify yourapi_keyis correct and fetch the metadata needed to verify access tokens used in authentication methods.Useris the type for an object containing the user's information.
Next, add the following line after creating your FastAPI instance.
auth = init_auth(os.getenv("PROPELAUTH_AUTH_URL"), os.getenv("PROPELAUTH_API_KEY"))
This will perform the initialization mentioned above. From here, you can add different authentication methods to your endpoints!
Protecting a Route
As we saw at the beginning of this guide, it’s a simple case to protect a route by using the require_user method. So let’s say, as another example, you want to make sure that an endpoint /items is protected and that only authenticated users can access the returned information. All you need to do is add the dependency injection we mentioned above to protect this route!
@app.get("/items")
def get_items(user: User = Depends(auth.require_user)):
  items = fetch_items_for_user(user.user_id)
  return {"items": items}
B2B Auth Features
PropelAuth specializes in making authentication for B2B products seamless and easy to implement. For example, organizations are a first-class concept in our product and are just as simple to implement into a FastAPI backend.
In a B2B product, our items (from above) might not be just for an individual but an organization or company. We’ll pass the org_id in via a path parameter and use another method in our library, require_org_member, which will return information about a specified organization.
@app.get("/org/{org_id}/items")
async def view_org_items(org_id: str, current_user: User = Depends(auth.require_user)):
    org = auth.require_org_member(current_user, org_id)
    items = fetch_items_for_org(org.org_id)
    return {"items": items}
Testing with Interactive API docs
To test the work that we did above, we could hook up our frontend and work with it in our testing environment, but another great method is to work with the Interactive API Docs that FastAPI provides. If you aren’t already using them, you can access these by adding /docs to the end of the URL you are using in development.
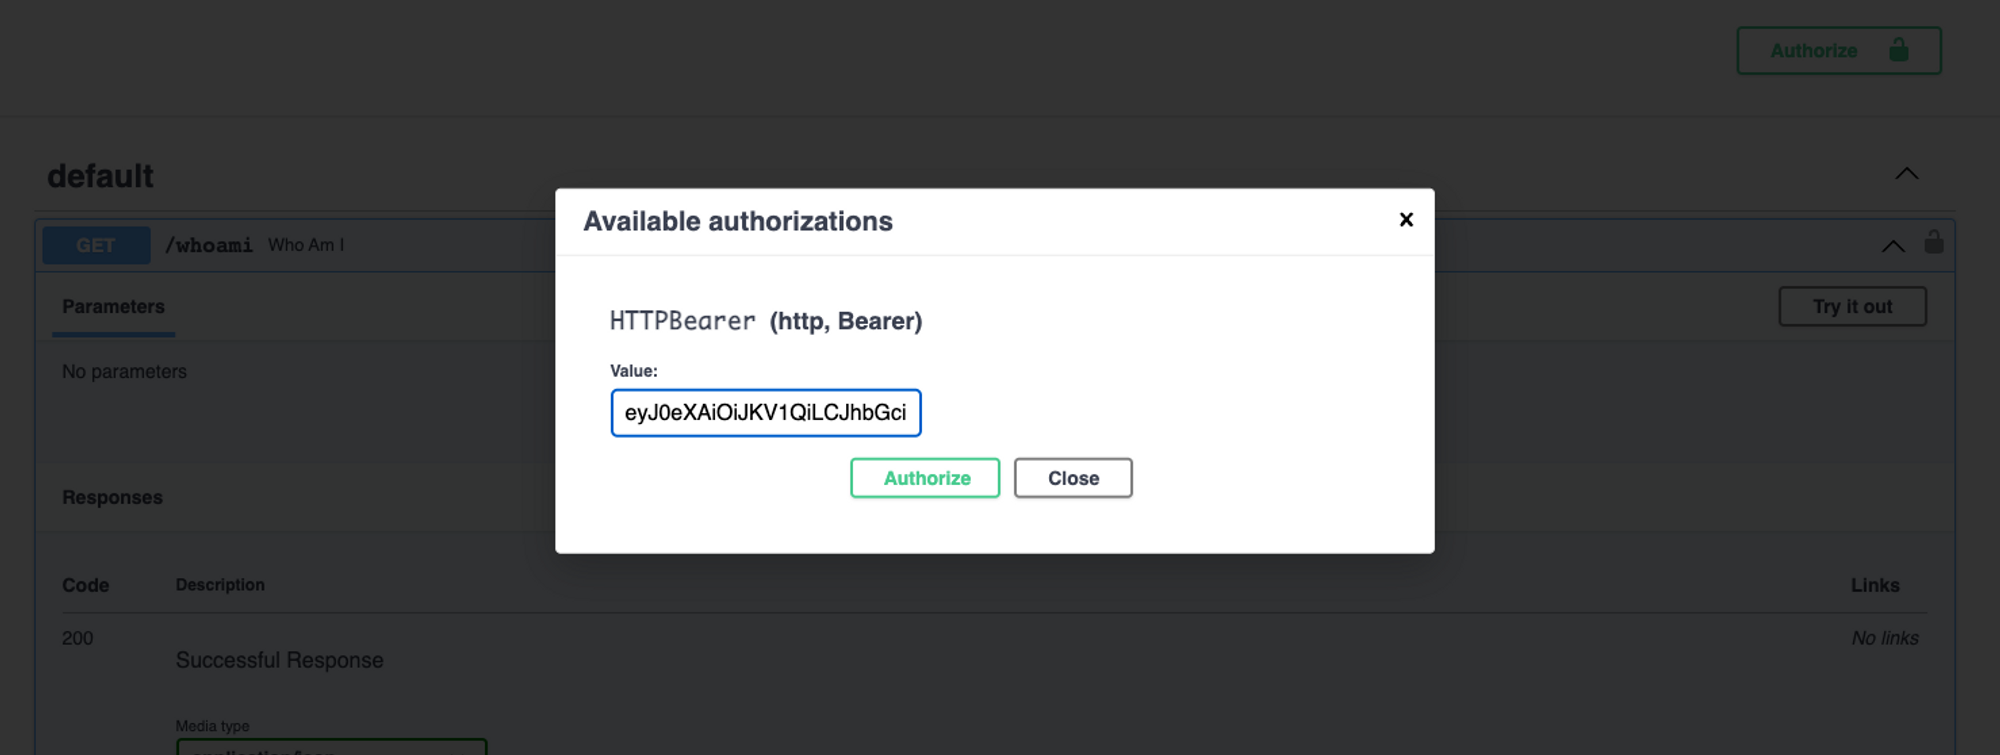
Since require_user was injected into a route, you should see the following button has been added to the docs page.

Authorize button on FastAPI docs
You can use this to simulate an authenticated user accessing a specified endpoint by passing in an access token. There are a few ways you can create this access token:
- Grabbing the token from the frontend
- Using the create access token endpoint that PropelAuth provides
- By navigating to
${YOUR_AUTH_URL}/api/v1/refresh_token
That said, we recommend the create access token endpoint, as you can specify your own duration for how long the token is valid for.
Added a test access token to FastAPI docs
Once authenticated, you can test individual endpoints, as seen below
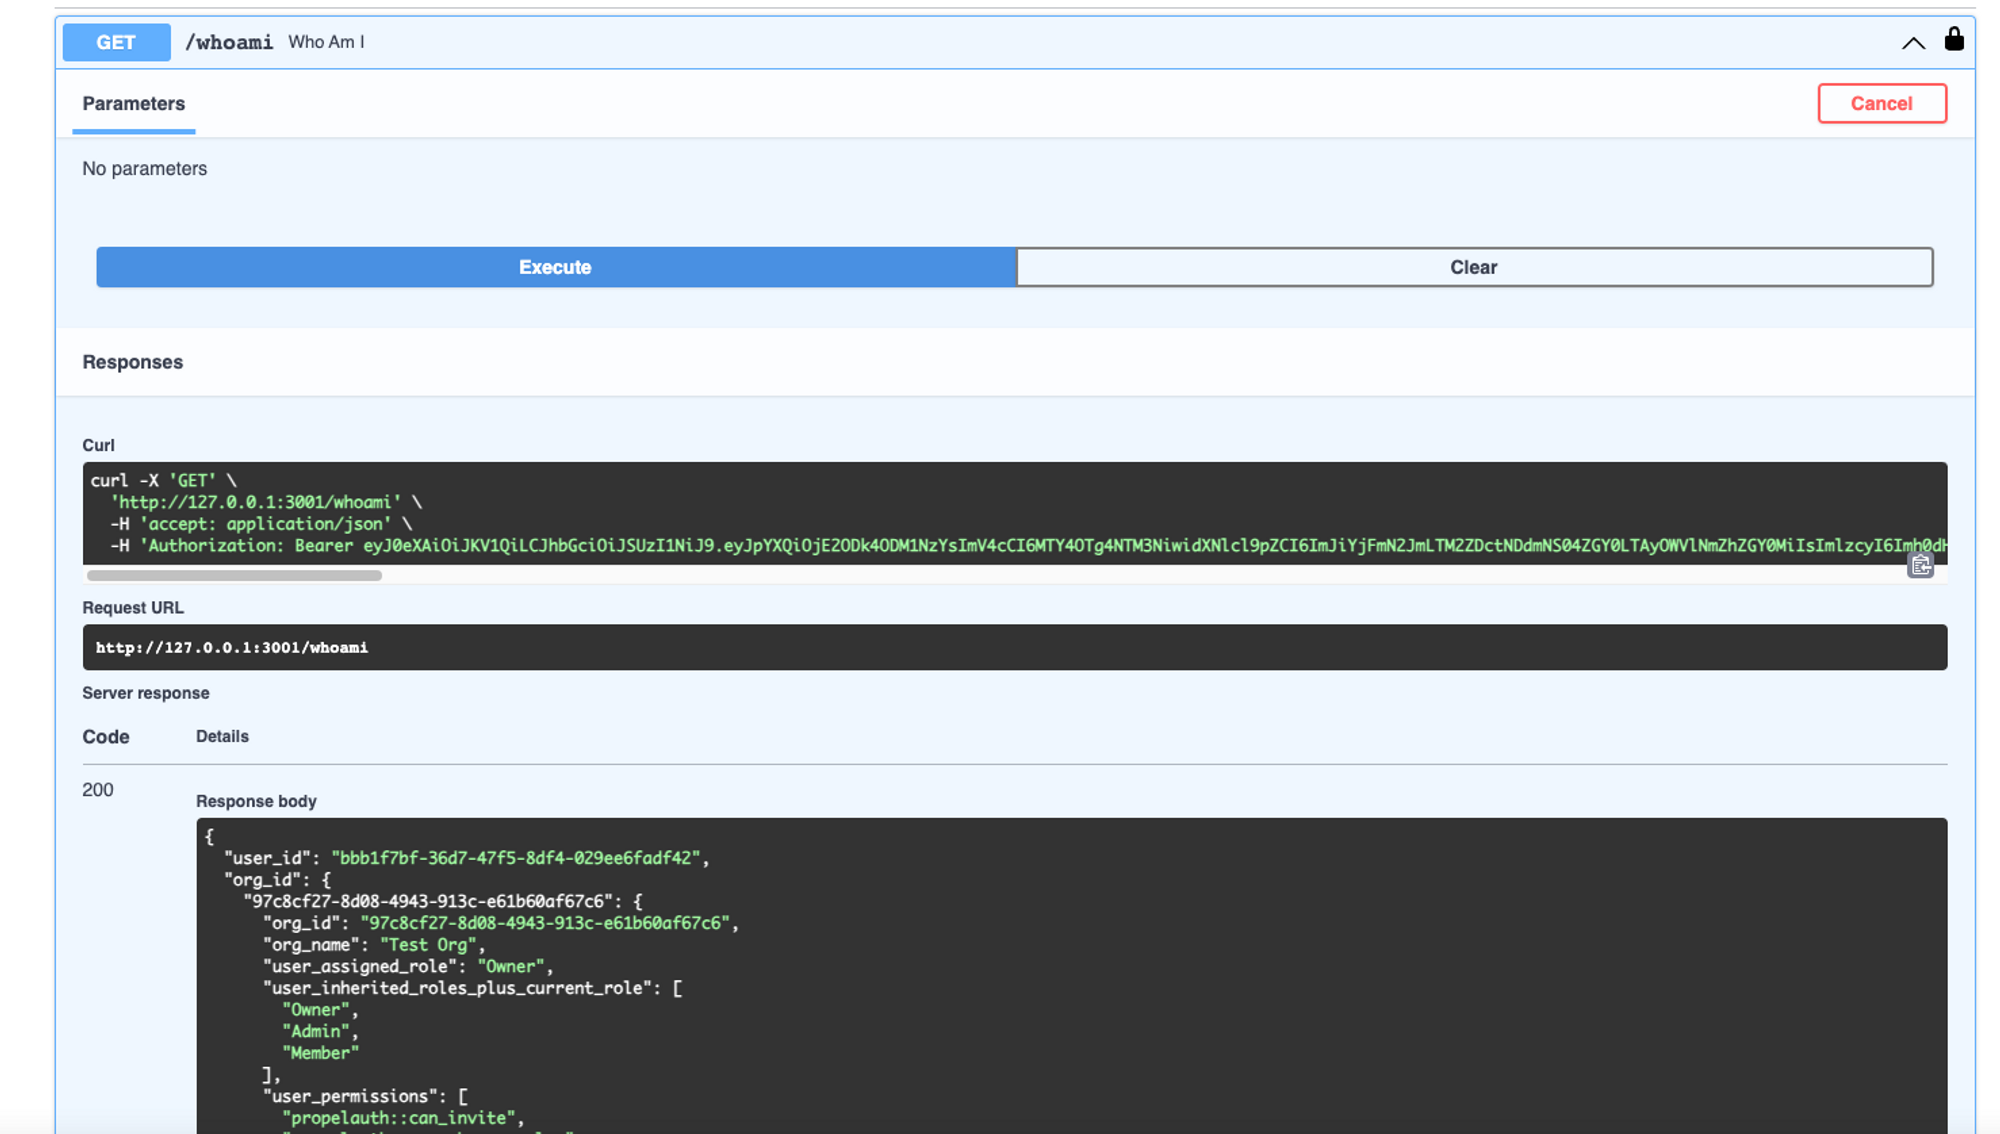
FastAPI docs after authentication via access token
Conclusion
With the help of PropelAuth, only a few additional lines of code were needed to add authentication to our FastAPI backend. There was no need to worry about password reset flows, transactional email setups, confirming emails, etc. And the work that we did to add organizations enables us to work with smaller companies through our invitation flows and larger ones through our SAML/Enterprise SSO/SCIM support.
For more information on getting started, check out our full example application, and if you need anything else, feel free to reach out at support@propelauth.com