React/Python + Chalice Starter App

In this guide, we’ll build an example B2B application in React where users can sign up, login, manage their accounts, and view organization and member information, PropelAuth, React, Python, and Chalice.
We're going to use the following technologies for this blog post:
- React.js - for our frontend
- Python and Chalice - for our backend
- PropelAuth - for user login and management
The code is available on GitHub in these Github Repos
Setting Up Authentication Pages
Before creating our application, we'll first be setting up our project in PropelAuth. Projects in PropelAuth provide all of the necessary components of authentication for your applications, including hosted login pages, which we'll be using for this walkthrough. You can also set up additional features such as SAML, social logins/SSO, and more. For more information on how to add these options, be sure to check out our documentation.
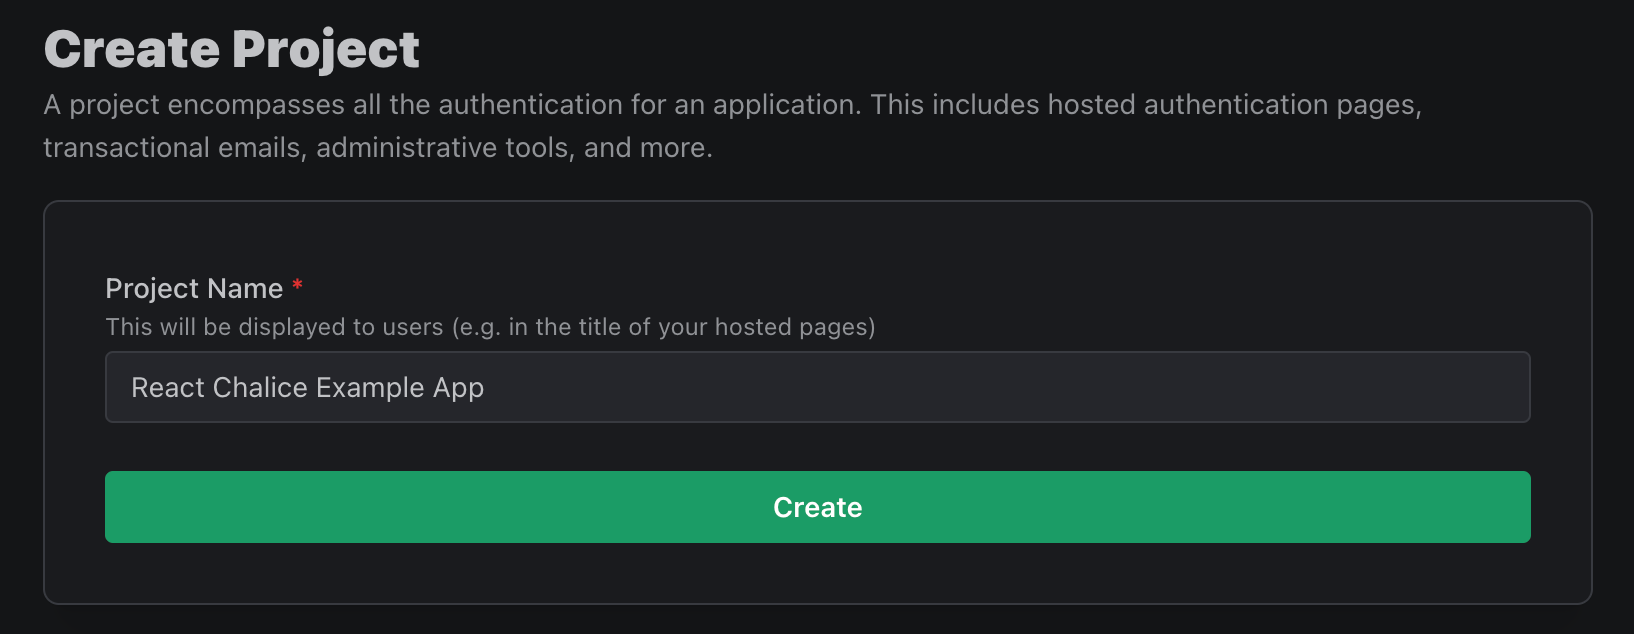
The first step is to create a project in PropelAuth.
Once a project has been created, you will be directed to the dashboard for your project, outlining the steps to complete adding authentication into your application.
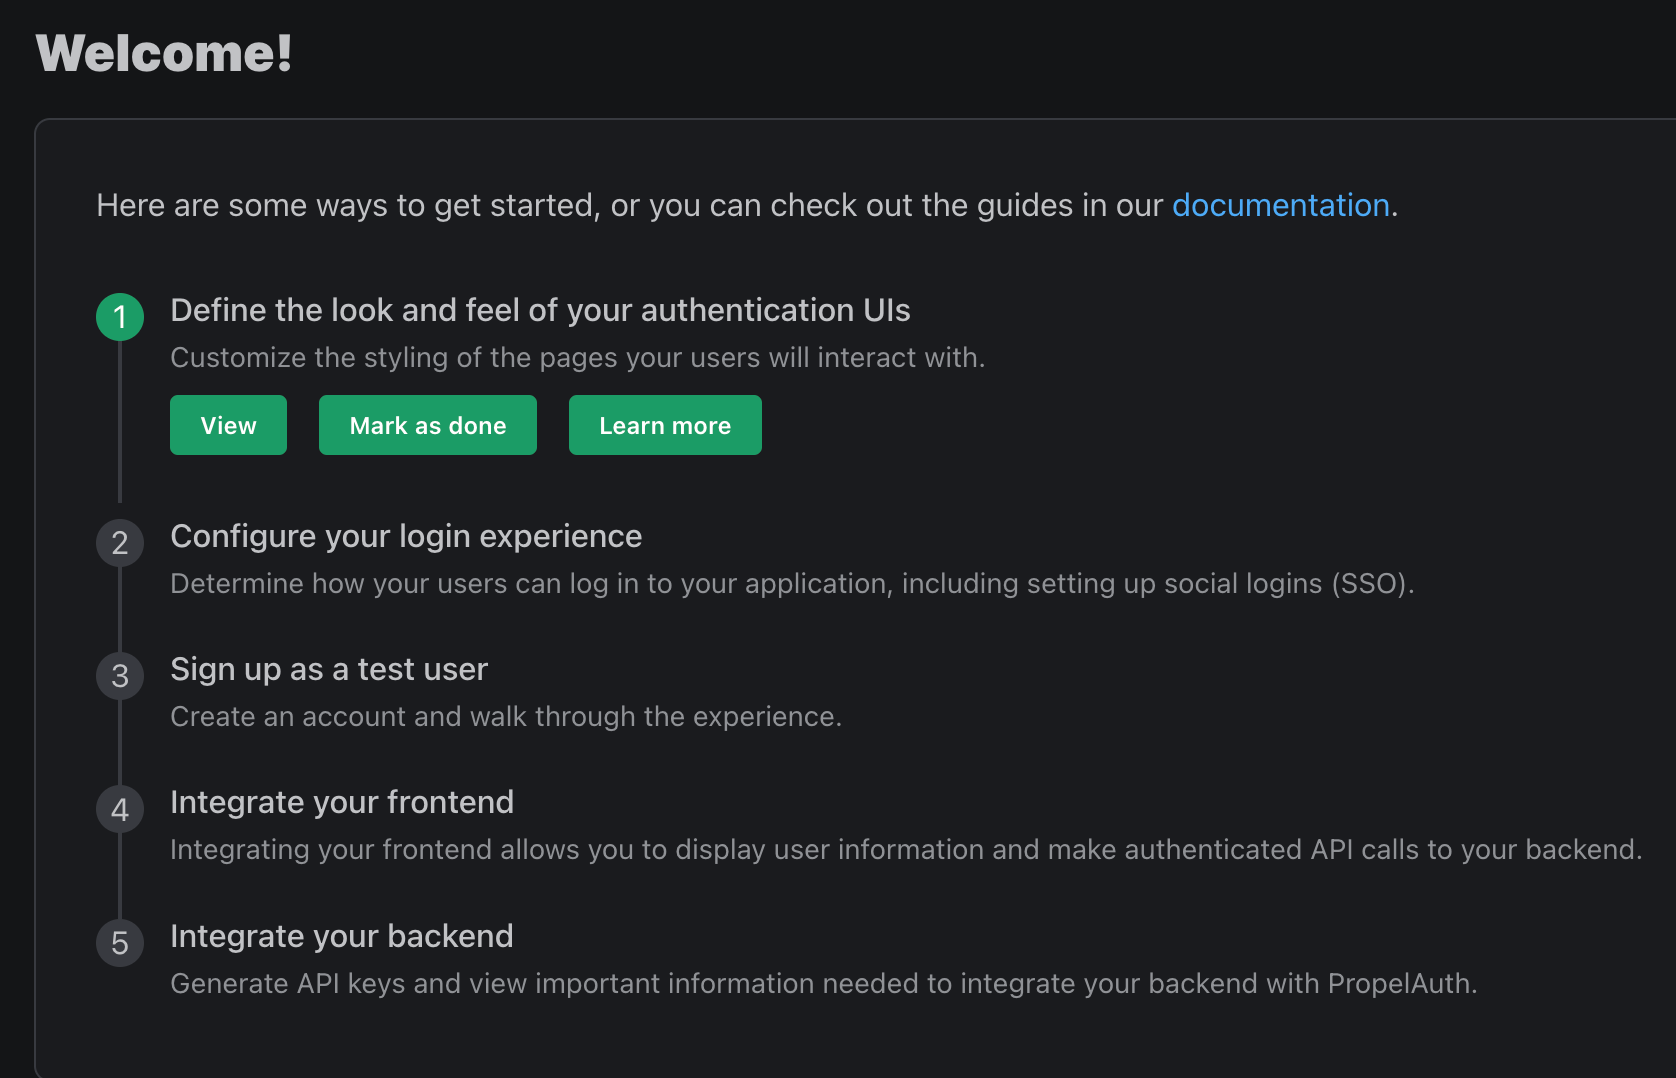
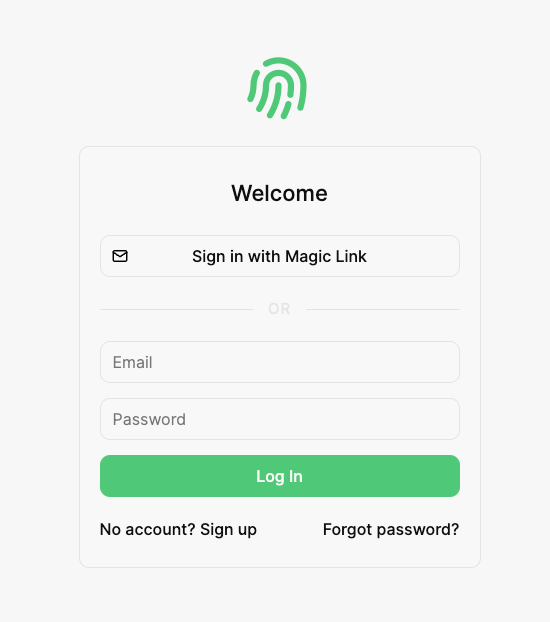
The first step is to customize the look of your hosted authentication pages. By clicking "View," you are redirected to this page:
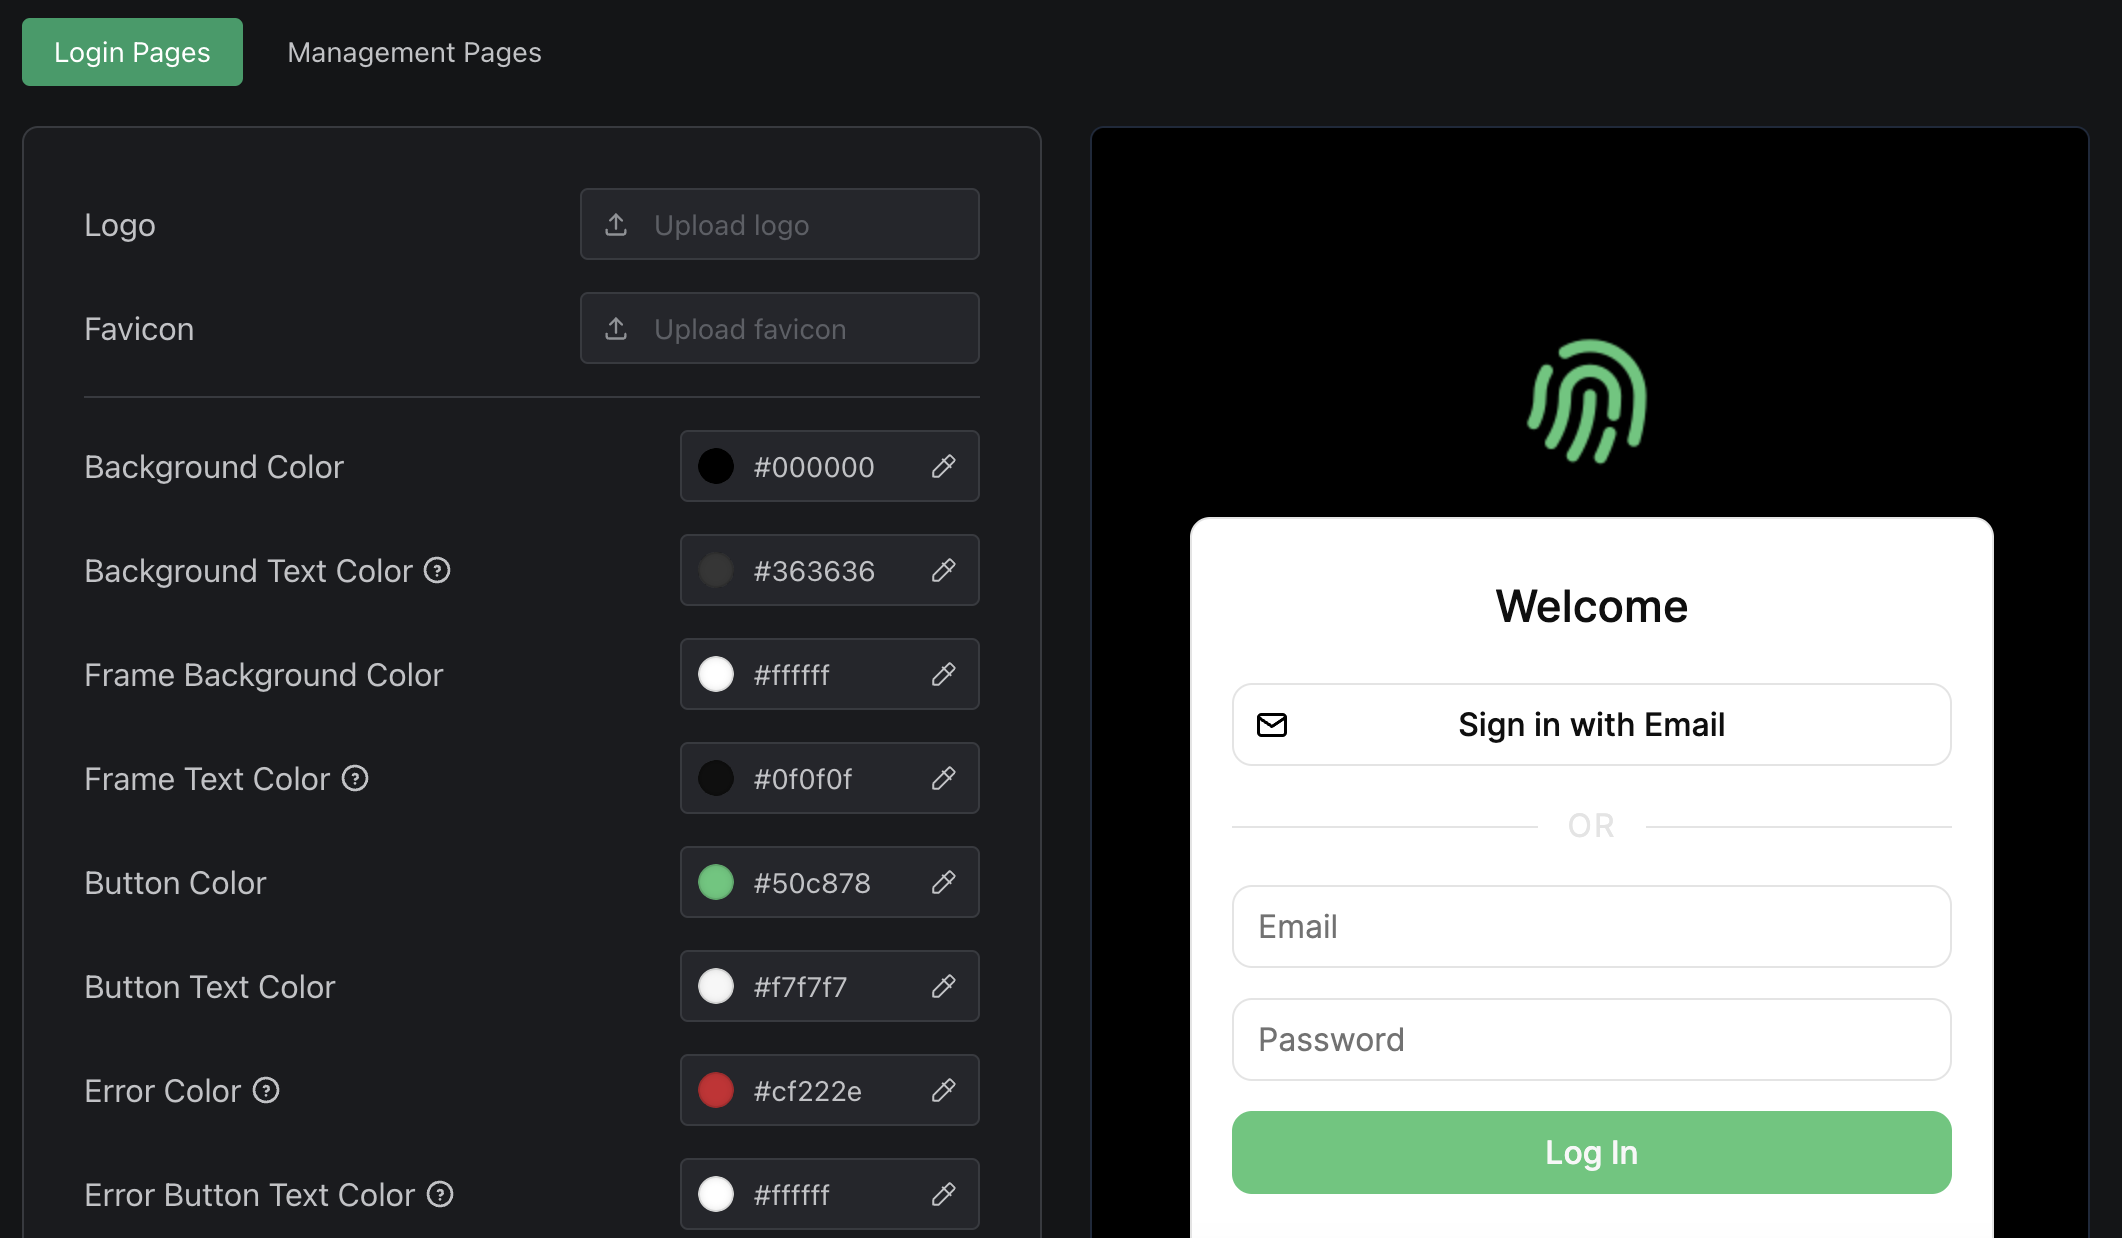
Here you can adjust the look of all hosted authentication pages to best match your preferred branding and style guidelines. Feel free to make any changes, click "Save," and navigate back to the dashboard using the left sidebar. Now that we've changed the look of our pages, click "Mark As Done," and move on to the next step.
From here, you can configure other aspects of your end-users auth experience, including:
- Adding "Login in with Google" or other SSO providers
- Collecting additional metadata on signup - like username or first name/last name
- Allowing your users to upload their own profile picture
- Letting your end-users create organizations and invite their coworkers (called B2B support)
For now, we are going to click "Mark As Done" on step 2, "Add Social Logins," and move on to step 3.
Sign Up As A Test User
Under step 3, click "View," and a new tab should open with the authentication page you configured above. Sign up as if you are a user, exit the tab, and mark the step as done.
Create a React Project
If you don't have a project already, you can create one with:
$ npx create-react-app frontend
Next, install the @propelauth/react package. It provides an easy interface to access your users information. It will manage auth tokens for you and has nice features like refreshing auth information when the user reconnects to the internet or switches back to your tab.
$ npm install @propelauth/react
Finally, we’ll install react-router to use switching between pages in our application.
$ npm install react-router-dom@6
Frontend
In this section, we will be setting up the frontend sections of our React application, walking through how to integrate PropelAuth into your components as we go.
Set Up Auth Provider
First, navigate to the index.js file in your application. Here we are going to add our AuthProvider and BrowserRouter.
import { AuthProvider } from '@propelauth/react';
import {BrowserRouter} from "react-router-dom";

const root = ReactDOM.createRoot(document.getElementById('root'));
root.render(
  <React.StrictMode>
    <AuthProvider authUrl={process.env.REACT_APP_PROPELAUTH_AUTH_URL}>
	    <BrowserRouter>
	      <App/>
	    </BrowserRouter>
    </AuthProvider>
  </React.StrictMode>
);
The authUrl is available on the Frontend Integration section of your PropelAuth project, or step 4 in your dashboard.
BrowserRouter will manage our URL history while switching pages in our application. AuthProvider is the provider of a React context that manages the current user’s access token and metadata, and all other components pull information from it. We are placing it at the top level of our application so that it never unmounts.
Get Logged In Status
Next, in the App.js, we'll bring in the withAuthInfo function, which injects a user's information into a React component. In our project, we will be displaying different components depending on whether or not the user is logged in.
import { withAuthInfo } from '@propelauth/react';

const App = withAuthInfo(({isLoggedIn}) => {
  if (isLoggedIn) {
      return <div>
          The User is logged in
      </div>
  } else {
      return <div>
          The User is logged out
      </div>
  }
})

export default App;
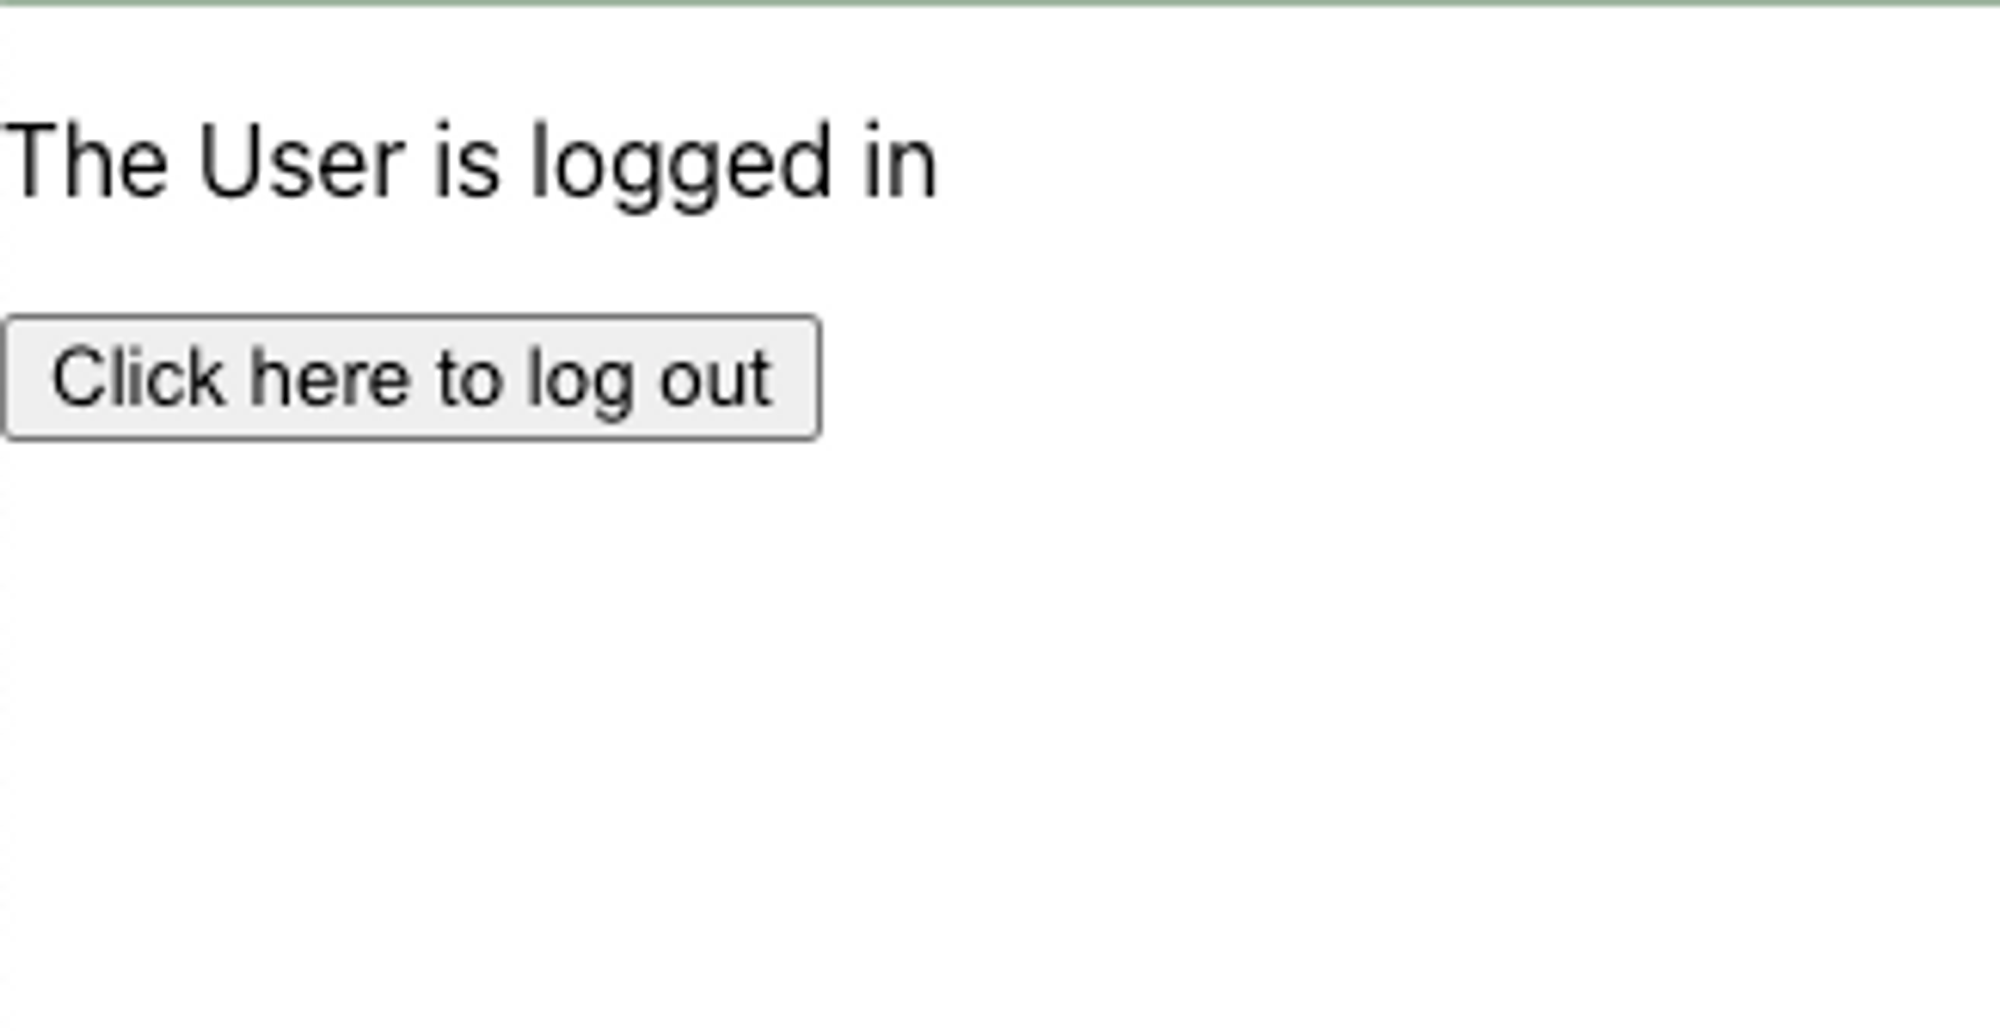
Using the code above, if the user is logged in they should see the following:

Create Sign In/SignOut Buttons
@propelauth/react also provides React hooks for redirecting your users to the hosted login/signup/account pages you created in your PropelAuth project, or logging your users out. Let's add them to our App.js file.
import { useLogoutFunction, useRedirectFunctions, withAuthInfo } from '@propelauth/react';

const App = withAuthInfo(({isLoggedIn}) => {
  const logoutFn = useLogoutFunction()
  const {redirectToSignupPage, redirectToLoginPage} = useRedirectFunctions();

  if (isLoggedIn) {
      return <div>
          <p>The User is logged in</p>
          <button onClick={() => logoutFn(true)}>
              Click here to log out
          </button>
      </div>
  } else {
      return <div>
          To get started, please log in as test user.
          <br/>
          <button onClick={() => redirectToSignupPage()}>
              Sign up
          </button>
          <button onClick={() => redirectToLoginPage()}>
              Log in
          </button>
      </div>
  }
})
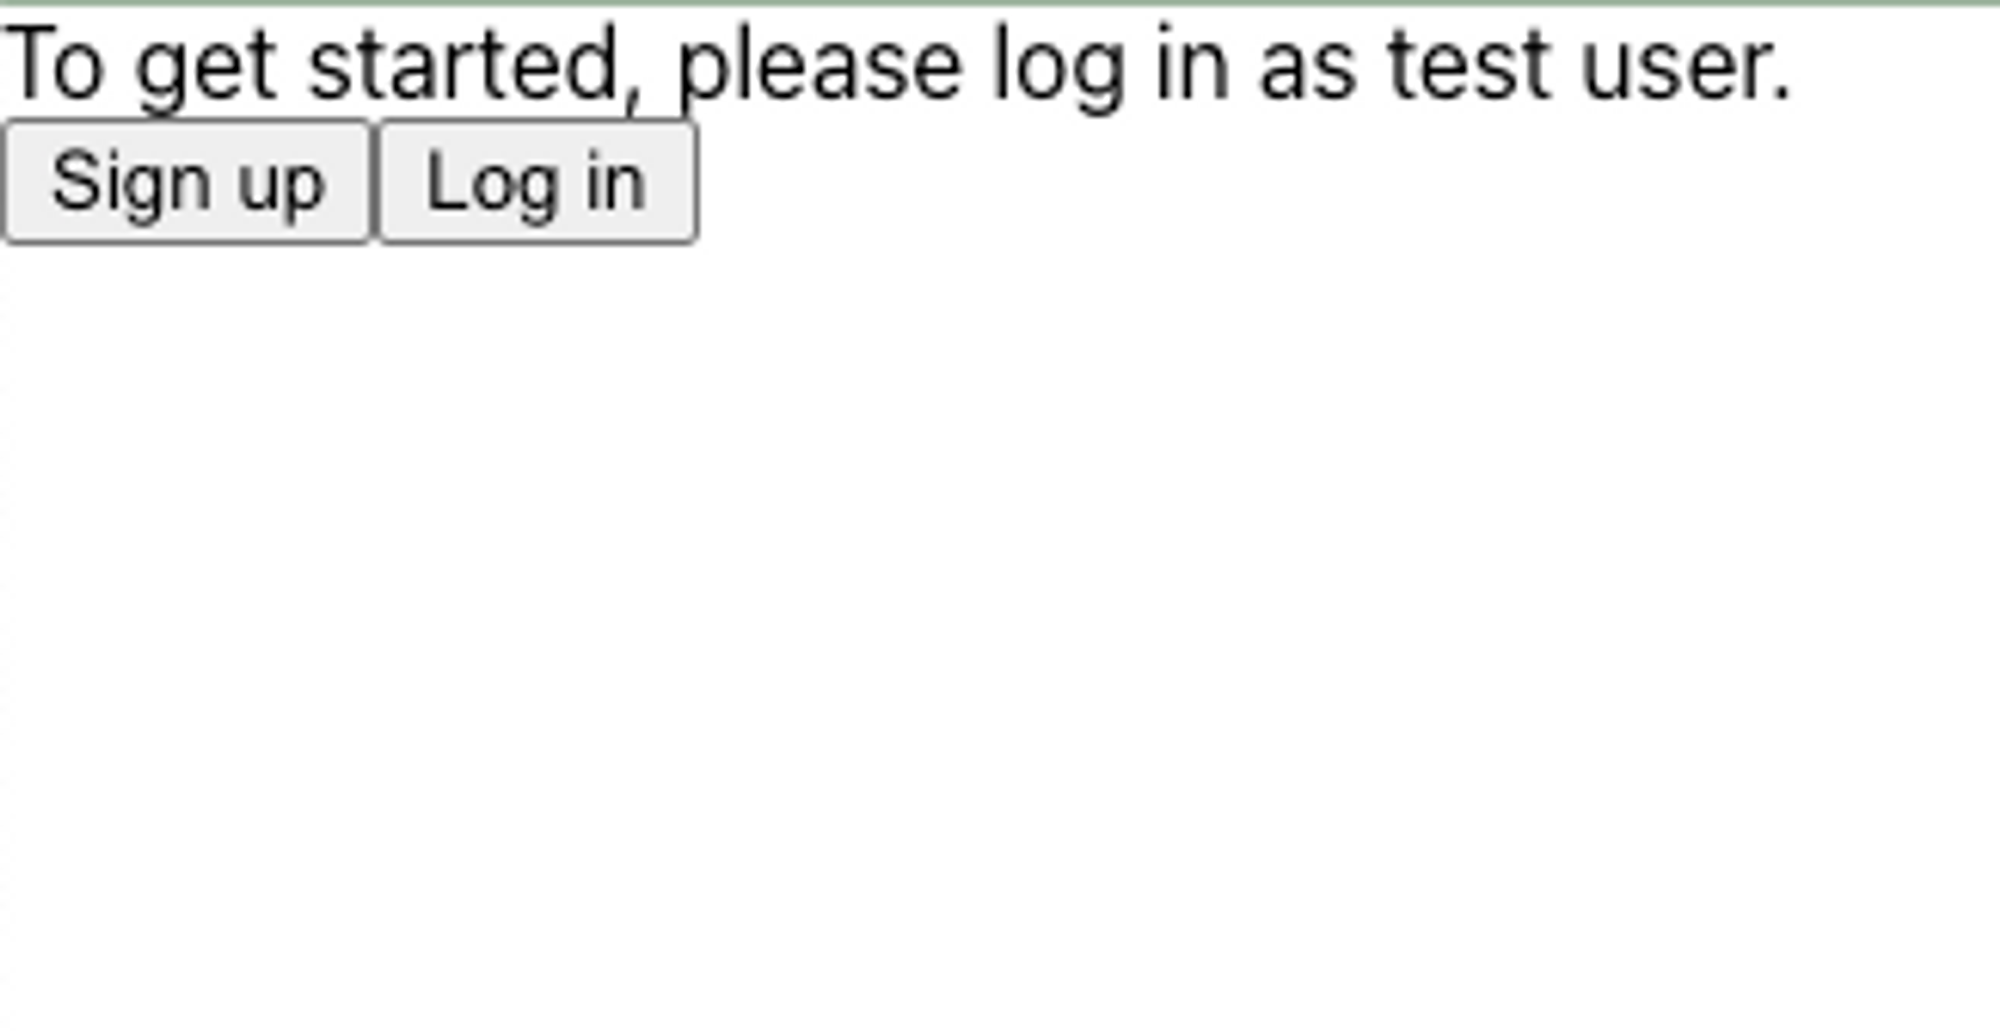
Now, if a user is logged out, they will see the following:
And if they are logged in, they will see:
Display User Information
The next step is to build out our routes, and create a route and component that will display the currently logged in user’s information. First, import Route and Routes from react-router-dom into App.js. Next, create components/Home.jsx and components/UserInfo.jsx, which will serve as our home page component and our user information route, respectively.
In Home.jsx, we’ll import withRequiredAuthInfo, which is identical to withAuthInfo but the component will not be rendered if the user is not logged in, and instead will default to redirecting to the hosted sign up page unless otherwise specified. We’ll also import Link from react-router-dom. Finally, build out the rest of the component using Link:
import {withRequiredAuthInfo} from "@propelauth/react";
import {Link} from "react-router-dom";

function Home(props) {
   return <div>
        <Link to="/user_info">
            Click Here to see user info
        </Link>
   </div>
}

export default withRequiredAuthInfo(Home);
In UserInfo.jsx, we'll create a component to display user information that pulls the user object that is injected automatically from withAuthInfo.
import {withAuthInfo} from '@propelauth/react';

function UserInfo({user}) {

    return <span>
        <h2>User Info</h2>
        {user && user.pictureUrl && <img src={user.pictureUrl} alt={"profile"} className="pictureUrl" />}
        <pre>user: {JSON.stringify(user, null, 2)}</pre>
    </span>
}

export default withRequiredAuthInfo(UserInfo);
Finally, in App.js, we’ll set up our routes for the Home and User Info componentsin the isLoggedIn check:
if (isLoggedIn) {
      return <div>
          <p>The User is logged in</p>
          <button onClick={() => logoutFn(true)}>
              Click here to log out
          </button>
          <Routes>
            <Route exact path="/" element={<Home/>}/>
            <Route path="/user_info" element={<UserInfo/>}/>
          </Routes>
      </div>
  }
User’s should now be able to view their information if they are logged in and click the link on the Home component.
Sending Requests from Frontend to Backend
Up to this point, we have stayed on the frontend components of our application, but next, we will be making requests to a protected backend.
Making Authenticated Requests
To make an authenticated request on behalf of your user, you’ll need to provide an access token. Just like isLoggedIn and user, the access token is available from withAuthInfo. You provide it in the request in the Authorization header, like so:
Authorization: Bearer ACCESS_TOKEN
With fetch, this looks like:
function fetchWhoAmI(accessToken) {
    return fetch("/whoami", {
        headers: {
            "Content-Type": "application/json",
            "Authorization": `Bearer ${accessToken}`
        }
    }).then(response => {
        if (response.ok) {
            return response.json()
        } else {
            return {status: response.status}
        }
    })
}
We can add this to a new components/AuthenticatedRequest.jsx component using React's useEffect hook.
import {withRequiredAuthInfo} from "@propelauth/react";
import {useEffect, useState} from "react";

function fetchWhoAmI(accessToken) {
    return fetch("/whoami", {
        headers: {
            "Content-Type": "application/json",
            "Authorization": `Bearer ${accessToken}`
        }
    }).then(response => {
        if (response.ok) {
            return response.json()
        } else {
            return {status: response.status}
        }
    })
}

function AuthenticatedRequest({accessToken}) {
    const [response, setResponse] = useState(null);
    useEffect(() => {
        fetchWhoAmI(accessToken).then(setResponse)
    }, [accessToken])

    return <span>
        <h2>Server Response</h2>
        <pre>{response ? JSON.stringify(response, null, 2) : "Loading..."}</pre>
    </span>
}

export default withRequiredAuthInfo(AuthenticatedRequest);
A Quick Note On CORS
Our React application runs on port 3000, so we’ll need to run our backend on a different port (in this tutorial, we use 3001). For security reasons, browsers will not allow you to make requests from one domain to another, and http://localhost:3000 and http://localhost:3001 are considered different domains.
A simple way to fix this issue is to add the following to your package.json:
"proxy": "http://127.0.0.1:3001/"
This will automatically proxy certain requests (like JSON requests) to http://localhost:3001. For more information, see the official React docs.
Great, we can now make authenticated requests to any backend we want. The only problem? We don't have a backend yet - let's fix that.
Authentication in Python and Chalice
Creating a Virtual Environment
First, we create a new virtual environment and install our dependencies. We'll use propelauth-py to validate the access token's the frontend sends.
$ mkdir backend-chalice
$ cd backend
$ python3 -m venv venv
$ source venv/bin/activate
$ pip install propelauth-py python-dotenv chalice
Chalice manages resources within your AWS account, so you’ll need to also set up the AWS CLI.
$ aws configure
Finally, we can create our project:
$ chalice new-project example
This creates an example directory with an app.py file that contains the following:
from chalice import Chalice

app = Chalice(app_name='example')

@app.route('/')
def index():
    return {'hello': 'world'}
If we cd into the directory and run chalice deploy, we get:
$ chalice deploy
Creating deployment package.
Updating policy for IAM role: example-dev
Updating lambda function: example-dev
Updating rest API
Resources deployed:
  - Lambda ARN: {ARN}
  - Rest API URL: https://{uniquestring}.execute-api.us-west-2.amazonaws.com/api/
And our endpoint is live! You can test it with curl:
$ curl {Rest API URL from above}
{"hello":"world"}
Under the hood, you now have a lambda function in your AWS account that is run when someone hits that endpoint. You can actually see the cold start problem very clearly here because your first request to this endpoint will be a bit slower than every subsequent request.
Creating our protected route
The code that we’ll add to app.py is simple enough that we can look at it first and explain it after:
import os

from chalice import Chalice
from propelauth_py import init_base_auth, TokenVerificationMetadata, UnauthorizedException

app = Chalice(app_name='example')

auth = init_base_auth(os.getenv('PROPELAUTH_AUTH_URL'),
											os.getenv('PROPELAUTH_API_KEY'),
                      token_verification_metadata=TokenVerificationMetadata(
                          verifier_key='''PROPELAUTH_VERIFIER_KEY''',
                          issuer='PROPELAUTH_AUTH_URL'
                      ))

@app.route('/whoami')
def whoami():
    try:
        auth_header = app.current_request.headers.get("authorization")
        user = auth.validate_access_token_and_get_user(auth_header)
        return {'user_id': user.user_id}
    except UnauthorizedException:
        # UnauthorizedError is Chalice's exception which will return a 401
        raise UnauthorizedError
- validate_access_token_and_get_user is a function takes in the Authorization HTTP header and verifies the request was made by a valid user. If the Authorization HTTP header is malformed or doesn’t contain a valid access token, an UnauthorizedException is thrown.
- PROPELAUTH_AUTH_URL, PROPELAUTH_API_KEY, and PROPELAUTH_VERIFIER_KEY can both be found by clicking on Backend Integration on the sidebar of your PropelAuth project. These are used once on startup to fetch the information needed to validate tokens. Access tokens (which are JWTs) are then validated quickly without needing to make any external requests.
Re-deploy your code:
$ chalice deploy
And now when we curl the endpoint, we’d expect a 401 since we aren’t providing an access token:
$ curl {URL}/whoami
{"Code":"InternalServerError","Message":"An internal server error occurred."}
But we actually get an internal server error? If you check your lambda logs in AWS, you’ll see that our lambda function doesn’t know what propelauth-py is. Chalice isn’t using our virtual environment to understand your project’s dependencies, it’s using the requirements.txt file. If we run
pip freezeto determine the exact version we're on, and redeploy, we get our 401:
$ curl {URL}/whoami
{"Code":"UnauthorizedError","Message":""}
We should also verify that a valid access token returns a 200 with our user id. Take the AUTH_URL from your PropelAuth dashboard and visit {AUTH_URL}/api/v1/refresh_token, which will return both an access token and metadata about the user. We’ll pass this along in the Authorization header:
$ curl -H "Authorization: Bearer eyJ..." {URL}/whoami
{"user_id":"c7fb5888-8ff2-4ad6-aa10-7775911ecd41"}
Now that we have a backend running, if we now include our components/AuthenticatedRequest.jsx in a new Route on App.js:
<Route path="/auth" element={<AuthenticatedRequest/>}/>
And if we add a new link to components/Home.jsx:
<Link to="/auth">
    Click Here to see an authenticated request to the backend
</Link>
If the user is logged in, they should see the server response from our authenticated request:
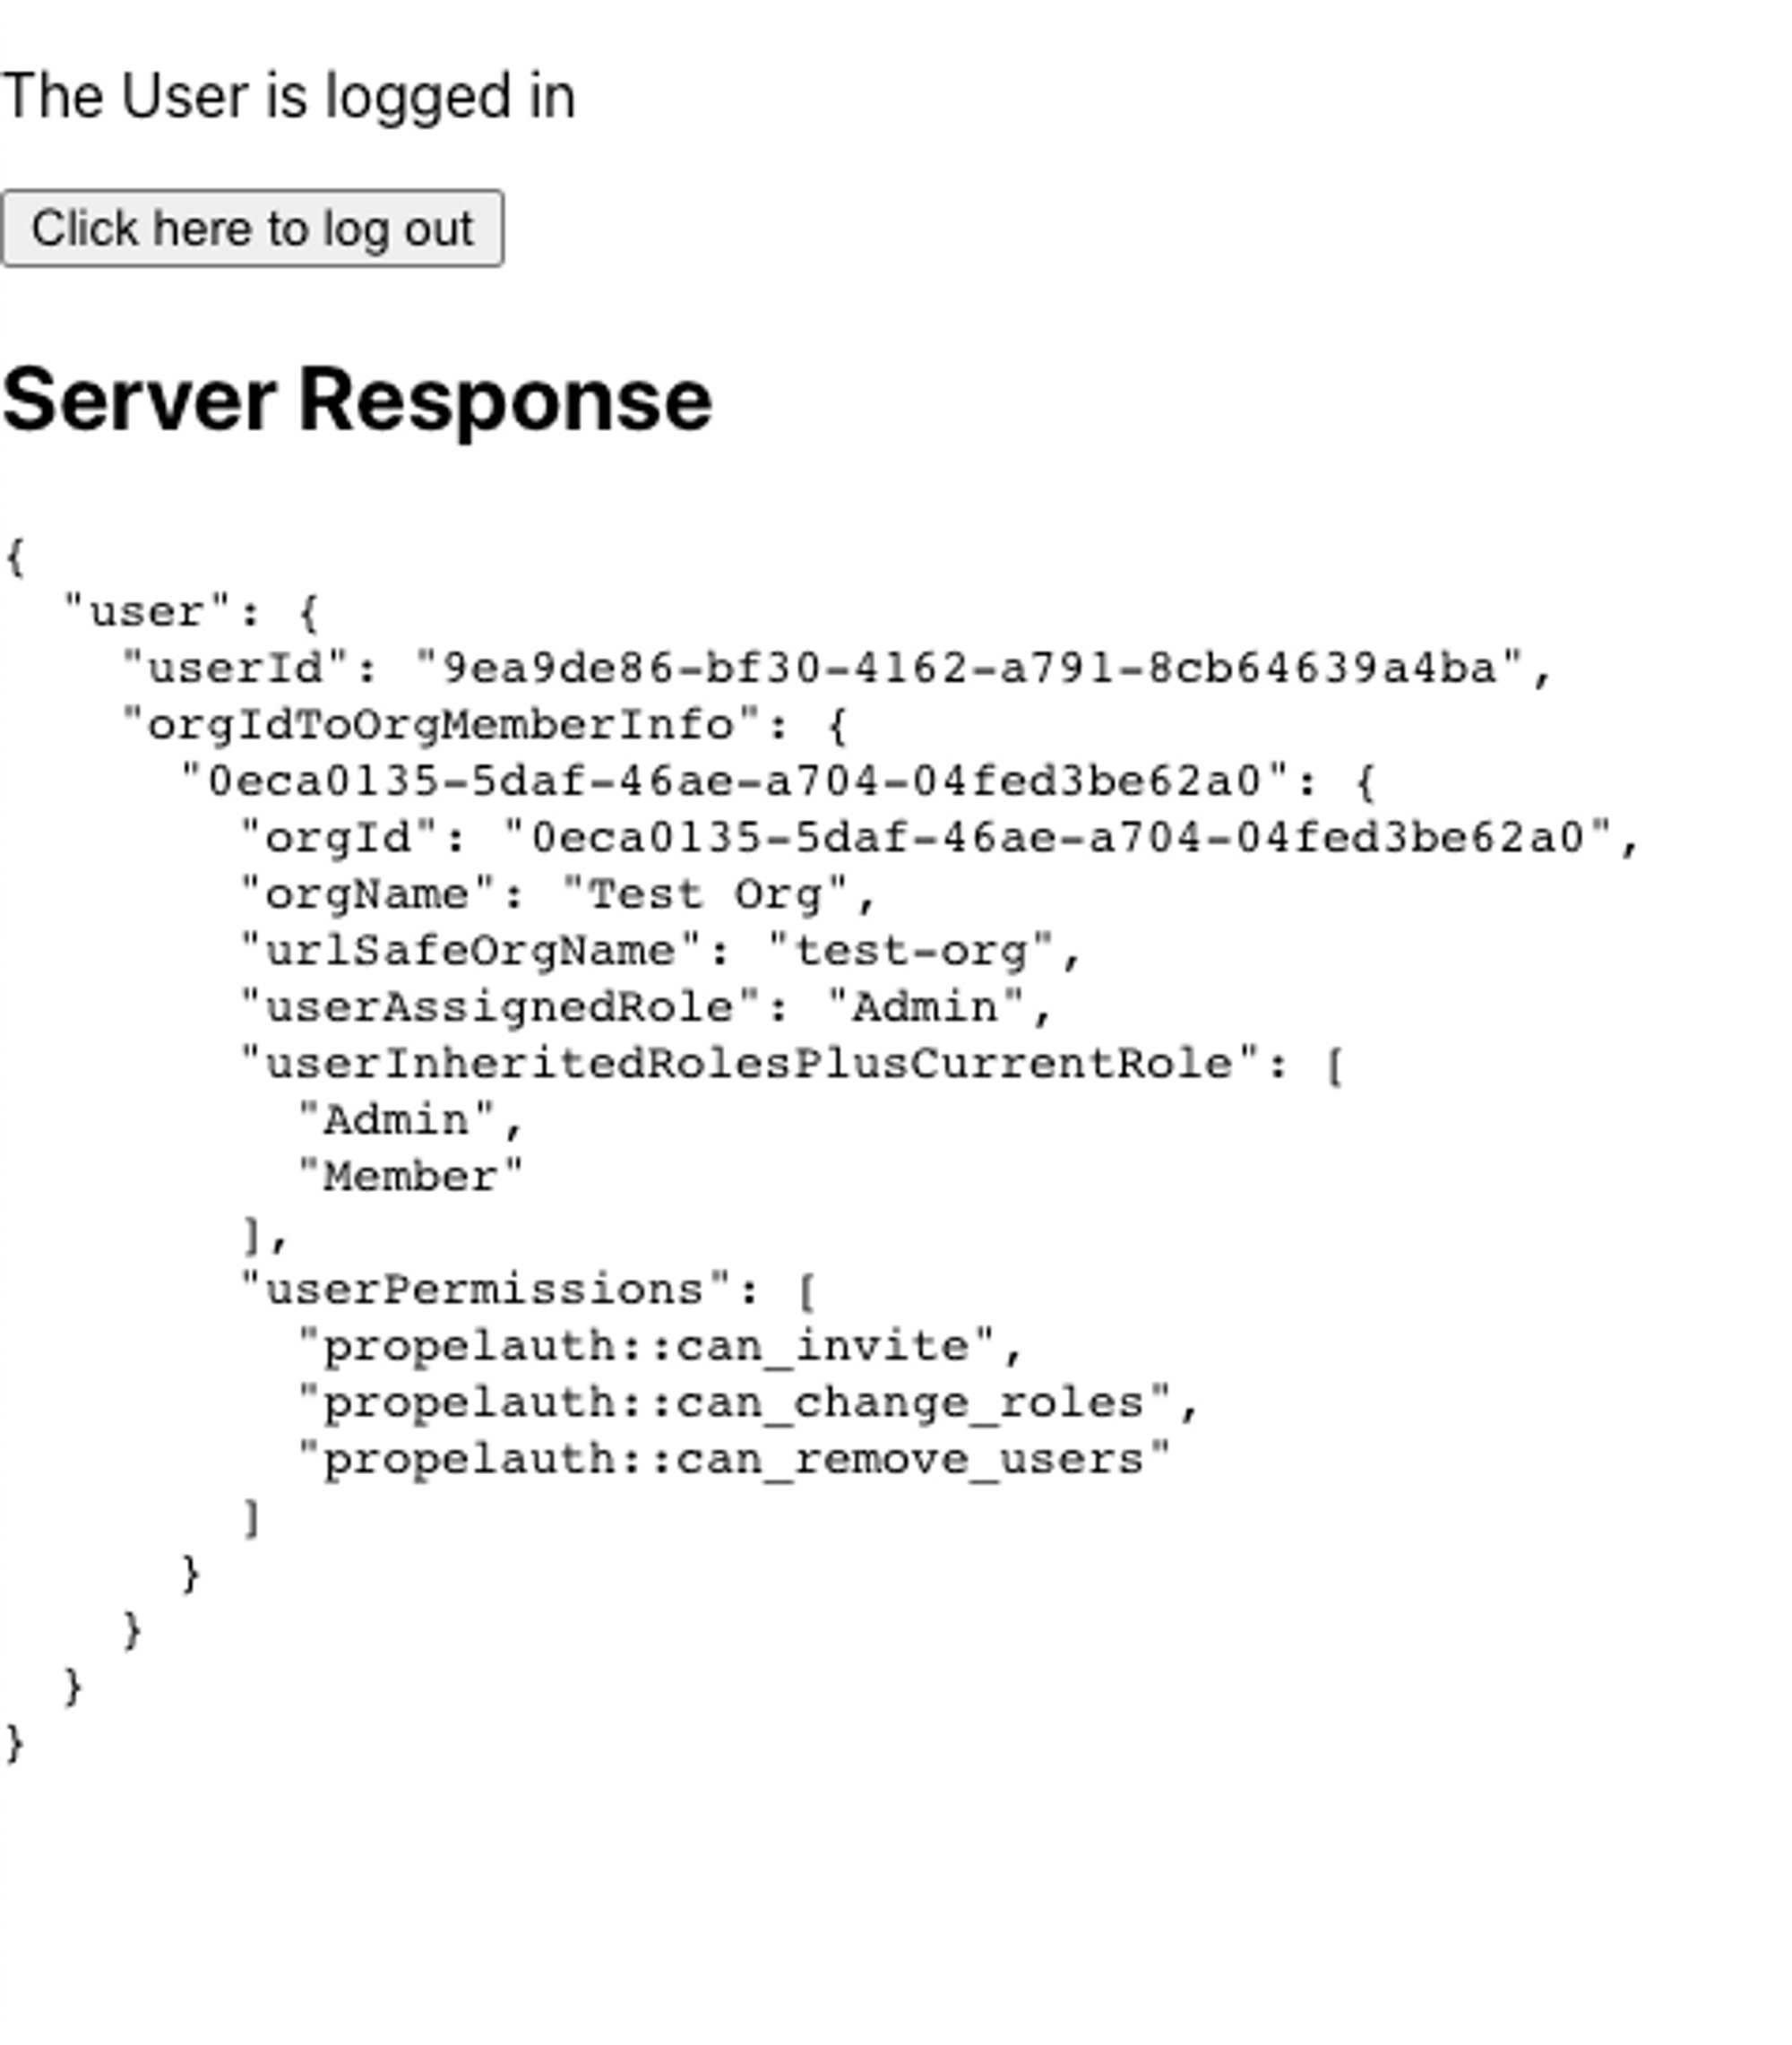
Organization Information
A common use case for B2B applications is the ability to separate users into organizations or teams. For the purposes of this application build, we will add functionality to view the list of organizations that the current user is a part of, and to view other members of that organization.
Display Organizations
First, we’ll create components/ListOfOrgs.jsx that will list all of the organizations a user is a part of, or display a button to redirect to the organization create/invitation page if they are not a part of any organizations.
import {useRedirectFunctions, withRequiredAuthInfo} from "@propelauth/react";
import {Link} from "react-router-dom";

function NoOrganizations() {
    const {redirectToCreateOrgPage} = useRedirectFunctions()

    return <div>
        You aren't a member of any organizations.<br/>
        You can either create one below, or ask for an invitation.<br/>
        <button onClick={redirectToCreateOrgPage}>
            Create an organization
        </button>
    </div>
}

function ListOrganizations({orgs}) {
    return <>
        <h3>Your organizations</h3>
        <ul>
            {orgs.map(org => {
                return <li key={org.orgId}>
                    <Link to={`/org/${org.urlSafeOrgName}`}>
                        {org.orgName}
                    </Link>
                </li>
            })}
        </ul>
    </>
}

function ListOfOrgs(props) {
    const orgs = props.orgHelper.getOrgs()
    if (orgs.length === 0) {
        return <NoOrganizations />
    } else {
        return <ListOrganizations orgs={orgs}/>
    }
}

// By default, if the user is not logged in they are redirected to the login page
export default withRequiredAuthInfo(ListOfOrgs);
orgHelper allows us to easily get all the organizations that the user is a member of, and by passing this array into our helper component ListOrganizations, we can map over each organization and create a new Link and dynamic route to display relevant information.
Next, we’ll create components/OrgInfo.jsx and, following the same pattern we did with AuthenticatedRequest.jsx, we’ll use React's useEffect hook to send a fetch to a new route, org/orgId.
import {withAuthInfo} from '@propelauth/react';
import {useParams} from "react-router-dom";
import { useEffect, useState } from "react";
function fetchOrgInfo(orgId, accessToken) {
return fetch(`/org/${orgId}`, {
headers: {
"Content-Type": "application/json",
"Authorization": `Bearer ${accessToken}`
}
}).then(response => {
// console.log('response: ', response)
if (response.ok) {
return response.json()
} else {
return {status: response.status}
}
})
}
function OrgInfo({ orgHelper, accessToken }) {
const {orgName} = useParams();
const orgId = orgHelper.getOrgByName(orgName).orgId
const [response, setResponse] = useState(null)
useEffect(() => {
fetchOrgInfo(orgId, accessToken).then(setResponse)
}, [orgId, accessToken])
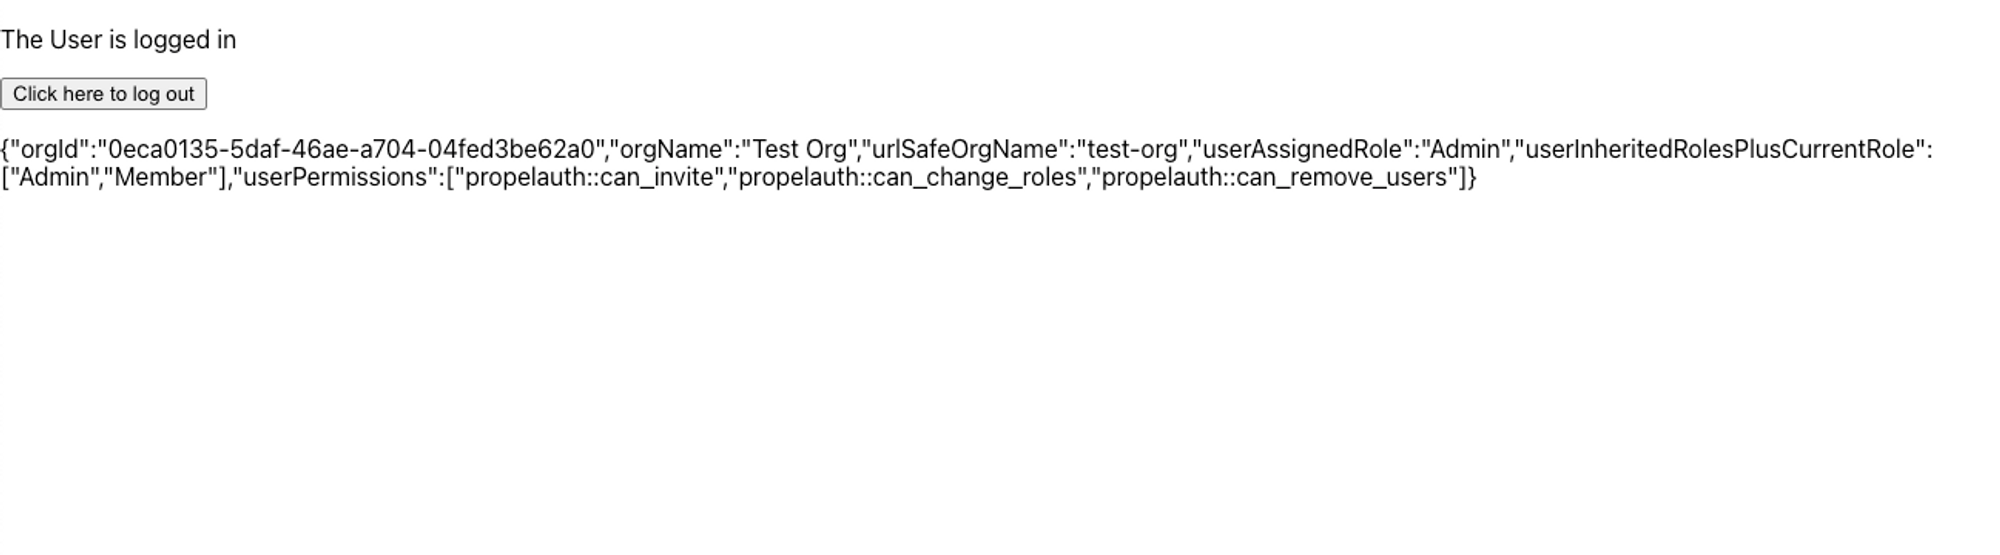
return <div>
<p>{response ? JSON.stringify(response.org) : "Loading..."}</p>
</div>
}
export default withAuthInfo(OrgInfo);
We then need to create the backend route to return an authenticated response, so in our backend-chalice/example/app.py file we’ll add a new route:
@app.route('/org/{org_id}')
def org_info(org_id):
    try:
        auth_header = app.current_request.headers.get("authorization")
        user_and_org_member_info = auth.validate_access_token_and_get_user_with_org(
            auth_header, org_id
        )
        return {'user_id': user_and_org_member_info.user.user_id,
                'org_name': user_and_org_member_info.org_member_info.org_name}
    except UnauthorizedException:
        raise UnauthorizedError
    except ForbiddenException:
        # We return a 403 for valid users that do not have access to the specified organization
        raise ForbiddenError
validate_access_token_and_get_user_with_orgis a function will verify that a request was made by a valid user AND that user is in an organization.
Finally we need to display the new routes in our application. In App.js we need to import and create new Route paths for ListOfOrgs.jsx and OrgInfo.jsx
<Route path="/orgs" element={<ListOfOrgs/>}/>
<Route path="/org/:orgName" element={<OrgInfo/>}/>
And on Home.jsx we need to add a new Link to the path /orgs to display ListOfOrgs.jsx
<Link to="/orgs">
    Click Here to see org info
</Link>
We’ll leave it up to you to make it look good :)
Wrapping Up
This guide provides comprehensive look at an authentication application framework you can use to get started. By using PropelAuth for authentication, we were able to skip building any auth UIs, transactional emails, invitation flows, and more.
Our frontend made an authenticated request to our backend, and our backend was able to identify the user that made the request. You can use this for things like saving information in a database per user_id.
If you have any questions, please reach out at support@propelauth.com.